
Download Voyager Live: USB media and installation
English edition published on .
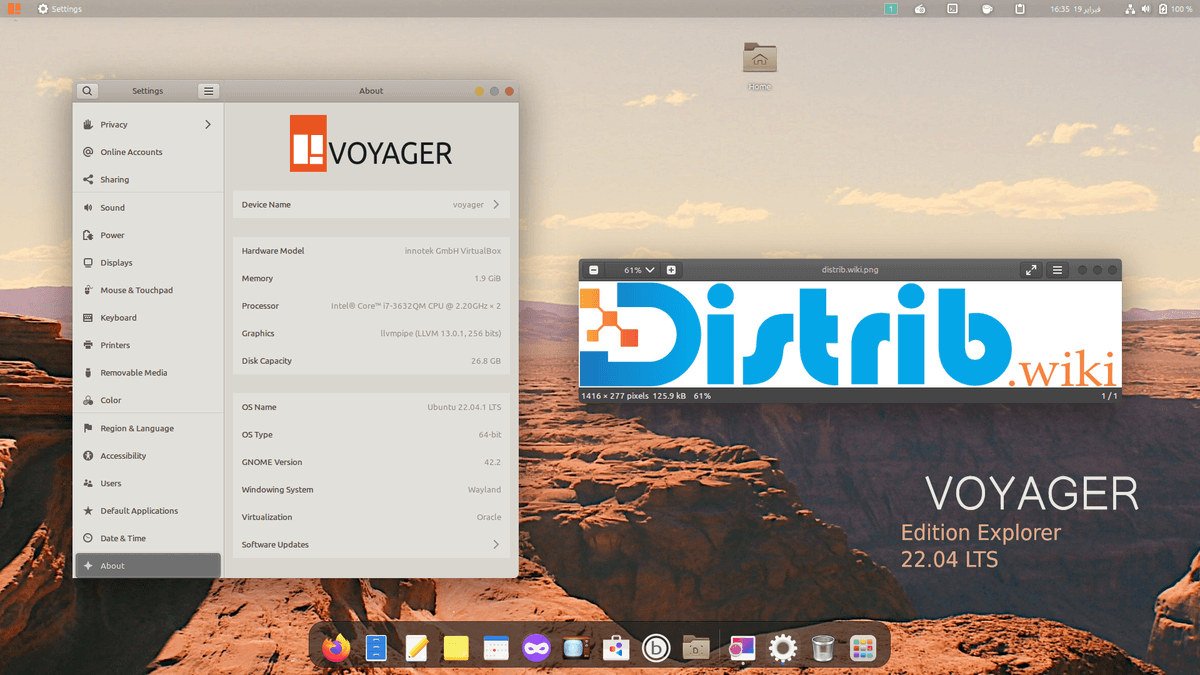
Voyager Live offers another desktop experience to explore within Linux. This guide covers the main download and installation stages. Use the release-specific project documentation alongside it, especially for hardware requirements and disk layout choices.
Download Voyager Live
Obtain the ISO through the official Voyager website. Choose an image that matches your computer and intended desktop, and check its maintenance status. Older references to both 32-bit and 64-bit media do not guarantee that both remain supported. Verify the image before preparing installation media.
Create installation media
You can use a USB drive or a suitably sized DVD where supported. The image-writing utility depends on your current operating system. Experienced Linux users may use dd, but a wrong target can overwrite another drive; a compatible graphical writer is also an option.
Steps for preparing the medium
- Connect the USB drive or insert a blank DVD.
- Open an appropriate image-writing or disc-burning tool and select the Voyager ISO.
- Choose and double-check the target medium. Writing a USB image erases that drive.
- Start writing the image, wait for completion and safely remove the medium when the tool indicates it is finished.
Install Voyager Live
Back up important data before starting. Installation may format or replace partitions, destroying their contents. Make sure you understand which disk and partitions the installer proposes to change.
Installation steps
- Connect the installation medium and restart the computer.
- Select the medium from the computer's boot menu.
- Follow the installer to set the language, keyboard layout and other basic preferences.
- Choose the intended target partition or disk. Use a whole-disk option only if you deliberately want to erase and dedicate that disk to Voyager; if uncertain, stop before confirming changes.
- Allow installation to finish. The time required depends on the computer and installation medium.
- Restart when instructed and remove the medium so the computer boots the installed system.
Once the installed desktop starts, apply available updates and explore the included applications. Check that networking, sound, graphics and your essential software work as expected before relying on the system for everyday use.