
Download Pop!_OS: image choice and installation
English edition published on .
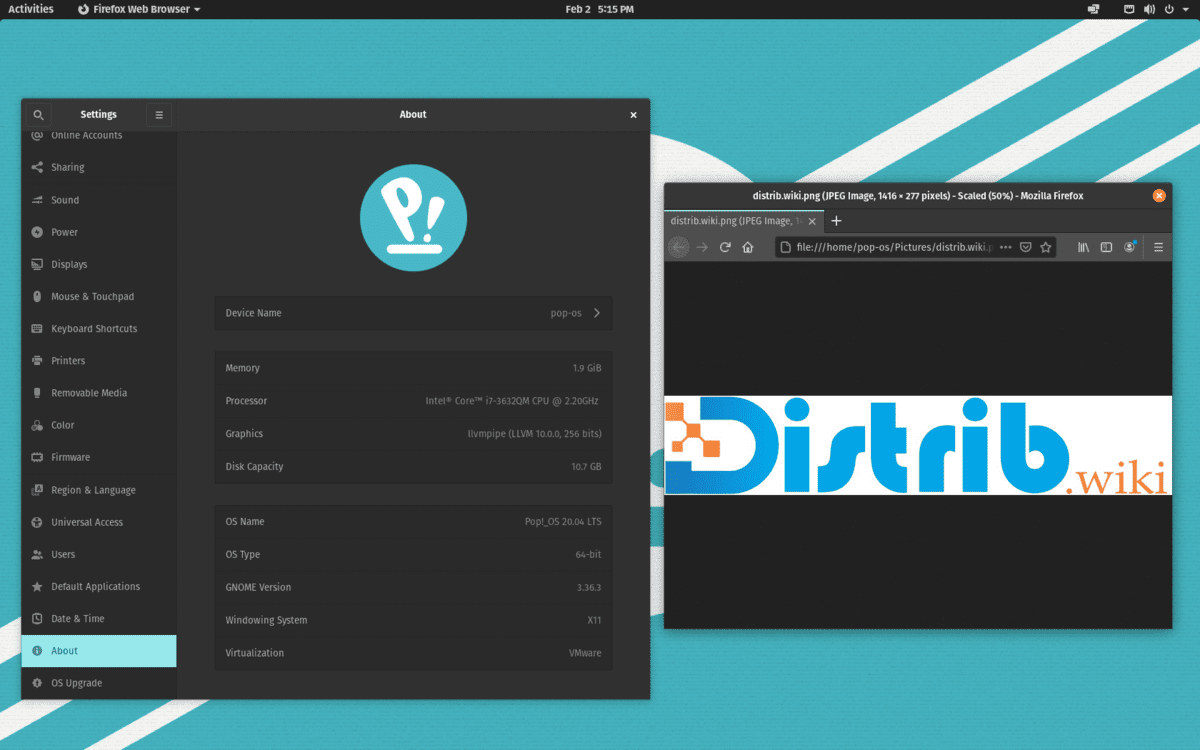
Pop!_OS is a free, open-source Linux distribution developed by System76. Its desktop is designed to support everyday work, development and creative applications. This guide outlines how to download an image and prepare an installation.
Downloading Pop!_OS
Before installing Pop!_OS, download the appropriate installation image, usually supplied as an ISO. Choose the image carefully so that it matches your hardware and the release you intend to install.
Choosing an image
The download choices described here distinguish an NVIDIA image from an image for Intel or AMD graphics. Check System76’s current download page for the images available for your release and choose according to its hardware guidance.
Downloading the ISO
Download the chosen image from the official source. Make sure the computer has enough free storage for the file, and follow the project’s instructions for verifying the download.
Installing Pop!_OS
Once the ISO is downloaded, prepare the installation medium. Back up important files and read the instructions for your release before making disk changes.
Creating a bootable USB drive
Use a compatible image-writing application, such as balenaEtcher or Rufus, following System76’s instructions. The USB drive must meet the capacity required by the current image; do not rely on the older 4 GB figure alone. Back up its contents, as writing the image erases them.
- Connect the USB drive to the computer.
- Open the image-writing application and select the downloaded Pop!_OS ISO.
- Carefully identify the USB drive as the destination, then start writing the image.
Running the Pop!_OS installer
When the bootable USB drive is ready, use it to start the installation.
- Restart the computer with the USB drive connected.
- Open the boot menu using the key specified by the computer manufacturer. F12, F10 and Escape are examples; the correct key varies.
- Select the USB drive as the boot device.
- When Pop!_OS loads, follow the installer’s instructions. Review the target disk, partitioning and proposed changes before confirming installation.
After installation
Downloading and installing Pop!_OS involves choosing an appropriate image, preparing the USB drive and reviewing the installer’s choices. After installation, follow the update guidance for your release and configure the desktop for your work.