
Download Ubuntu MATE: verify, prepare and install
English edition published on .
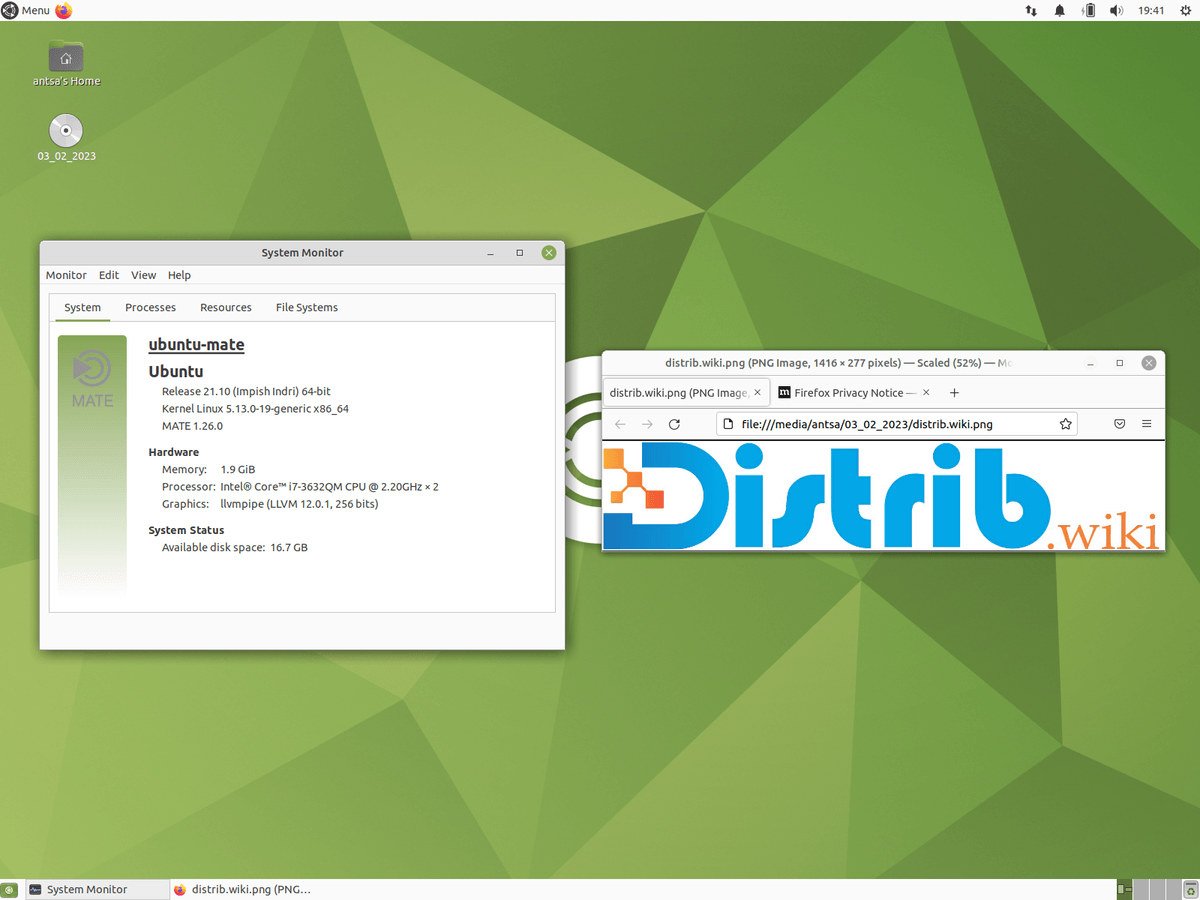
Ubuntu MATE combines Ubuntu's software ecosystem with the traditional MATE desktop. This guide outlines downloading and installing it. Use the official Ubuntu MATE website for the correct image and release documentation, rather than relying on unrelated download sites.
Step 1: download the Ubuntu MATE ISO
Choose a supported image from the official Ubuntu MATE download page. Check the processor architecture, hardware requirements and maintenance period of the particular release. Historical references to both 32-bit and 64-bit images do not establish that both are available for current releases.
Verify the ISO
Compare the downloaded file's SHA-256 checksum with the official value and follow the project's signature-verification instructions where supplied. A match establishes that the file agrees with that checksum; trusting its origin also requires obtaining and authenticating the expected verification data.
Step 2: create a bootable USB drive
Write the ISO using a compatible tool, such as Rufus on Windows or dd for experienced Linux users. Image writing erases the target USB drive, so confirm its identity and preserve any files it contains beforehand.
Write the installation image
Select the downloaded image in the writing utility, choose the correct USB device and start the operation. Follow the tool's instructions, wait until writing has finished and safely remove the drive.
Step 3: install Ubuntu MATE
Insert the prepared USB drive and restart. Choose it from the boot menu, or change the BIOS/UEFI boot order if required. Try the live desktop where available and back up existing files before installing.
Installation process
Open the installer from the booted environment. Although options vary by release, the main stages are:
- Choose the installation language and keyboard settings.
- Select the offered installation mode appropriate to your needs.
- Choose the target disk or partition and review what will be formatted or erased.
- Enter the required user and account information.
- Confirm the reviewed settings, wait for completion and restart when instructed.
After installation
Ubuntu MATE provides a graphical route into an Ubuntu-based desktop with a conventional interface. After installation, apply updates, confirm that essential hardware works and test the applications you need. Keep track of the specific flavour release's support period when planning future upgrades.