
Download OpenMandriva Lx: ISO and installation steps
English edition published on .
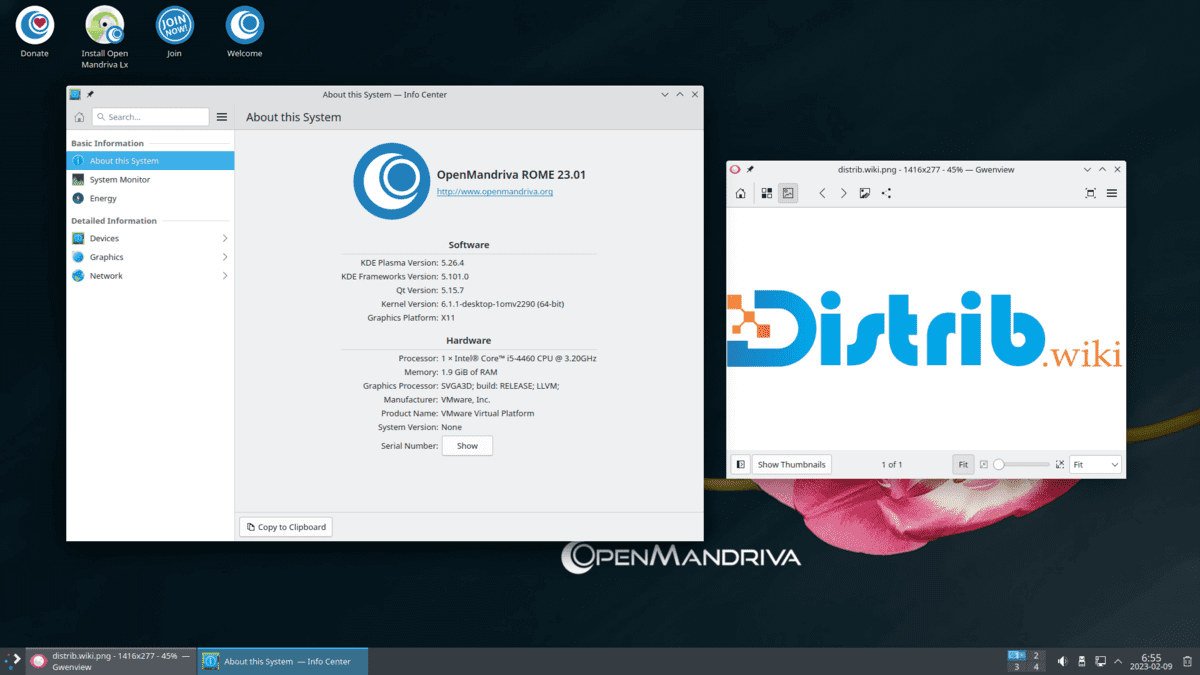
This guide covers the main steps for downloading and installing OpenMandriva Lx. Use the official project download information for the actual image, requirements and release-specific instructions, then prepare suitable installation media for your computer.
Step 1: download the OpenMandriva Lx ISO
Visit the official OpenMandriva website and choose a supported release appropriate to your needs. Check its architecture and hardware requirements carefully; older generic instructions mentioning a choice of 32-bit or 64-bit media do not establish that both are available for the release you want. Verify the downloaded image using the information supplied by the project.
Step 2: create bootable installation media
Write the ISO to a USB drive, or burn it as a disc image to a DVD where that medium is supported. Use a compatible tool such as Rufus or Etcher and follow the project's image-writing instructions. Select the target drive carefully: writing the image erases its contents.
Step 3: choose the boot device
Restart and open the computer's boot menu or firmware settings. Common keys include F2, F12, Delete and Esc, depending on the manufacturer. Use the one-time boot menu to select the installation medium where possible, or adjust the BIOS/UEFI boot order if needed.
Step 4: install OpenMandriva Lx
Start the computer with the installation medium connected. After checking the live environment where available, open the installer. Back up existing files before proceeding and follow the installation wizard:
- Choose the language and keyboard layout.
- Configure networking if required.
- Choose an automatic or customised installation layout.
- Select the target disk or partition and review any proposed deletion or formatting.
- Create a user account and password.
- Check the installation summary and confirm only when the target and settings are correct.
Installation time depends on the computer and media. Wait for completion, then restart when the installer instructs you to do so. Do not disconnect the installation medium while it is still being used.
Step 5: start using OpenMandriva Lx
Remove the installation medium when instructed so the computer starts from the installed system. Sign in using the account created during installation.
Initial configuration
Review the initial settings and carry out the setup appropriate to your edition:
- Apply available system updates.
- Choose the desktop session if you installed more than one.
- Check language and regional settings.
Install additional applications
OpenMandriva Lx includes a selection of applications and provides package-management tools for adding more. Browse the available repositories for browsers, office suites, development tools or media software, checking that the packages are appropriate to your release.
Updates and maintenance
Check for updates regularly and follow the project's maintenance guidance. The supplied update tools can show available packages and help install them. Keep the system on a maintained release and read any relevant upgrade notices.
These steps take you from downloading an official image to a usable installation. Once the system is updated, explore its applications and configuration tools, and test the workflows you intend to use day to day.