
Download Academix GNU/Linux: installation preparation
English edition published on .
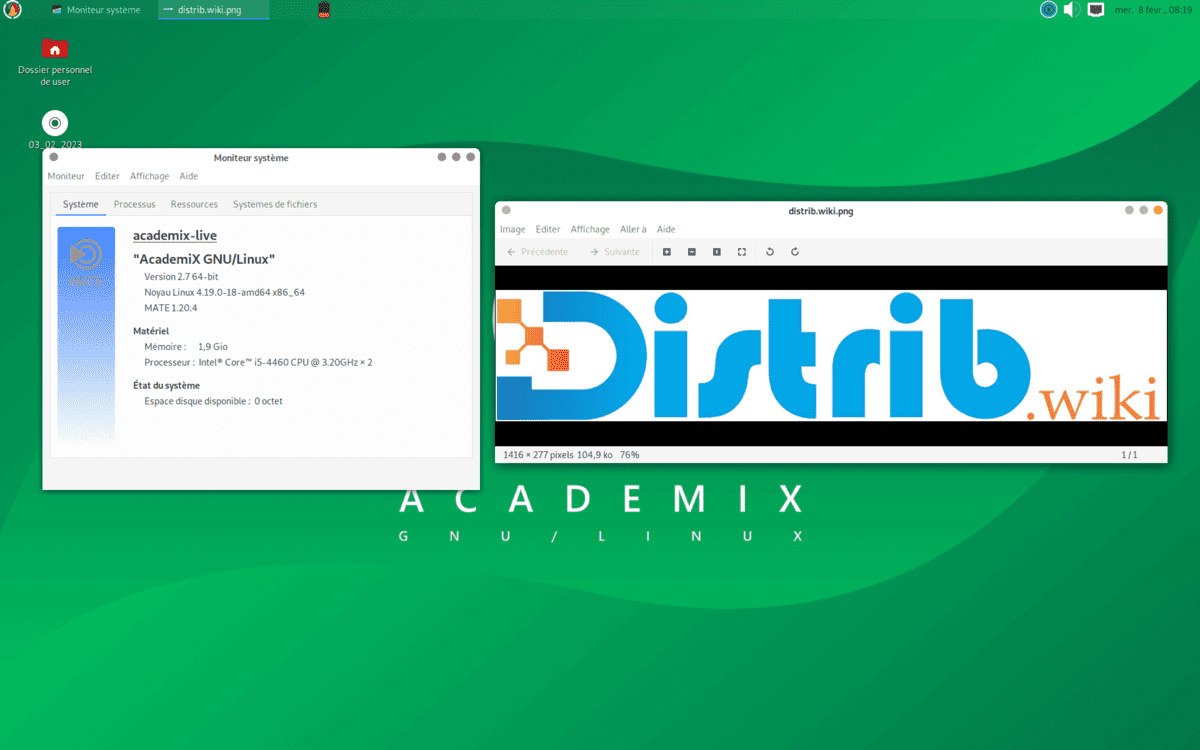
Academix GNU/Linux is a Debian-based distribution intended for educational and academic environments. This guide outlines downloading its installation image and setting it up on a computer. Before using an older image, confirm that its base and repositories still receive the updates your environment requires.
Download the ISO image
Start at the official Academix website and find its download information. Check the image's release date, maintenance status and supported processor architecture. Do not assume that both 32-bit and 64-bit images are currently available or supported simply because older instructions mention them.
Create installation media
After downloading and verifying the ISO, prepare a USB drive or, where supported, a DVD. The main options are:
- USB drive: use an image-writing utility compatible with the image, such as Rufus. The original guidance suggested at least 4 GB; make sure the actual image fits. Follow the writer's instructions rather than manually choosing a filesystem unless required. Writing the image erases the selected drive.
- DVD: burn the ISO as a disc image to a suitably sized blank DVD with a utility such as Brasero or ImgBurn, rather than copying the ISO as an ordinary file.
Select the boot device
Configure the computer to boot from the installation medium. The firmware or boot-menu key is often F2, F10, F12 or Delete, but varies by manufacturer. Prefer the one-time boot menu where available; otherwise adjust the BIOS or UEFI boot order so the installation medium starts first.
Install Academix GNU/Linux
Back up existing data, connect the installation medium and restart. If the image boots successfully, follow the installer for that release. The general sequence is:
- Select the installation language and time zone.
- Choose an automatic or manual disk layout. Review which partitions will be created, formatted or removed before continuing.
- Enter the username, password and computer name.
- Choose any additional packages offered by the installer, such as educational software, device drivers or media components.
- Review the proposed settings and allow the installer to copy files and configure the system.
- When installation finishes, remove the installation medium as instructed and restart.
After installation
At the login screen, use the account created during setup. You can then explore the desktop and the educational applications included with that edition. Check the software needed by teachers or students before deploying it more broadly.
Update the system
On a supported installation with working repositories, refresh the package lists and apply available upgrades. The basic APT commands are shown below. If repositories are obsolete or no longer maintained, stop and assess the support situation rather than treating a successful command as proof of security maintenance.
sudo apt update
sudo apt upgrade
Install additional applications
Applications not included by default can be installed through Synaptic or the apt command, where available. Use repositories appropriate to the installed release and check package compatibility before adding third-party sources.
Before putting Academix into use
Academix's educational focus brings together applications and resources for teaching and study. The steps above cover obtaining an image, preparing media and installing it. For an actual classroom or personal workstation, verify maintenance, hardware compatibility and the required applications before relying on the installation.