
Download SparkyLinux: branches, media and installation
English edition published on .
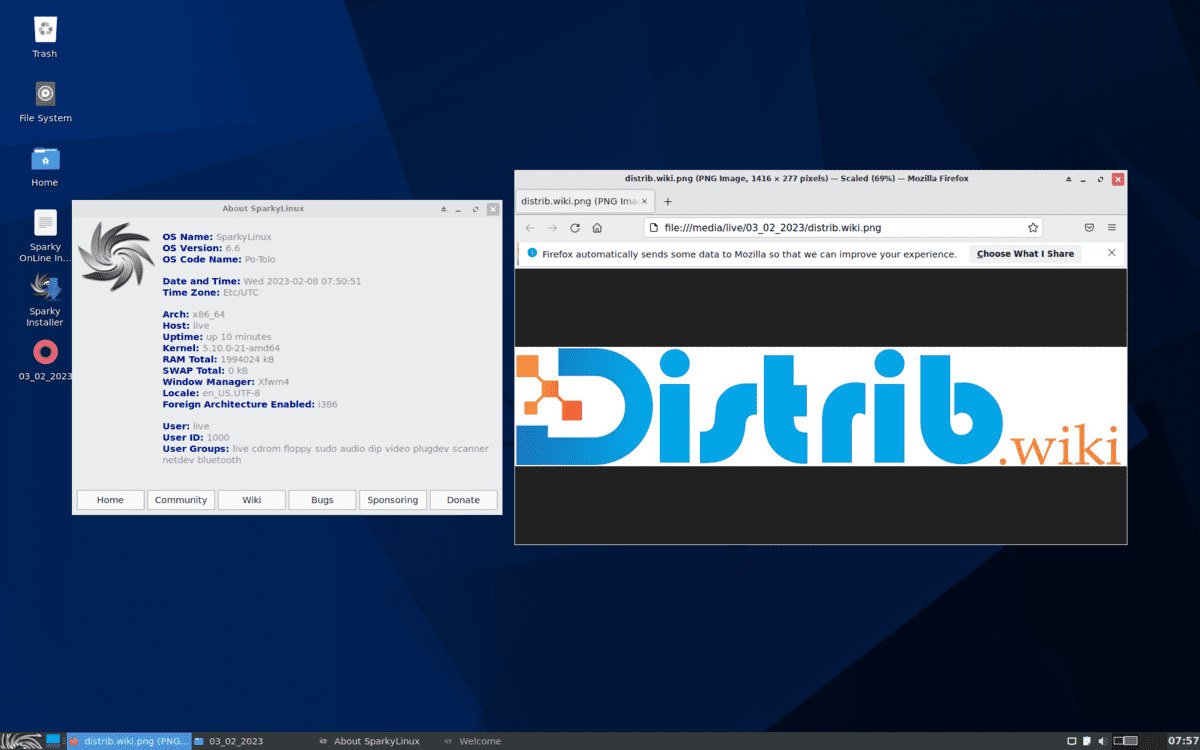
SparkyLinux is a Debian-based Linux distribution offering different desktop and release choices. This guide takes you through selecting an image, preparing installation media and installing the system on a suitable computer.
Download SparkyLinux
Start by obtaining the installation ISO through the official project's download information. Choose the appropriate branch, desktop and architecture, and verify the downloaded file using the information supplied by the project.
Choose a release branch
Sparky provides a Stable branch based on Debian Stable and a development-oriented branch associated with Debian Testing, described as Rolling or semi-rolling in project materials. Check the current branch names and release notes. The testing-based option entails a different maintenance and change profile from Stable.
Download the ISO
Once you have selected a suitable edition, download its matching ISO. Allow enough disk space for the image and check that the target computer supports its architecture. Confirm the release's maintenance status before installing.
Install SparkyLinux
With the image downloaded and verified, prepare installation media. Back up important files before making any changes to your computer's disk.
Create installation media
Write the ISO to a USB drive with a compatible image writer, or burn it as a disc image to a suitably sized DVD where supported. Do not merely copy the ISO file onto the medium.
- Connect the intended USB drive or insert a blank DVD.
- Open the writing utility and select the SparkyLinux ISO.
- Double-check the destination, then start writing. A USB image writer erases the target drive.
Start the installer
Once the medium is ready, boot it and follow the instructions appropriate to your selected edition.
- Restart the computer with the installation medium connected.
- Open the boot menu using the manufacturer's key, often F12, F10 or Esc.
- Select the installation medium as the boot device.
- Follow the installer, checking the target disk and proposed partition changes before accepting any formatting or deletion.
After installation
Restart into the installed system, apply available updates and check your essential hardware and applications. Continue following the maintenance guidance for the branch you chose, especially if it tracks Debian Testing rather than Stable.