
Download Android-x86: ISO checks and installation
English edition published on .
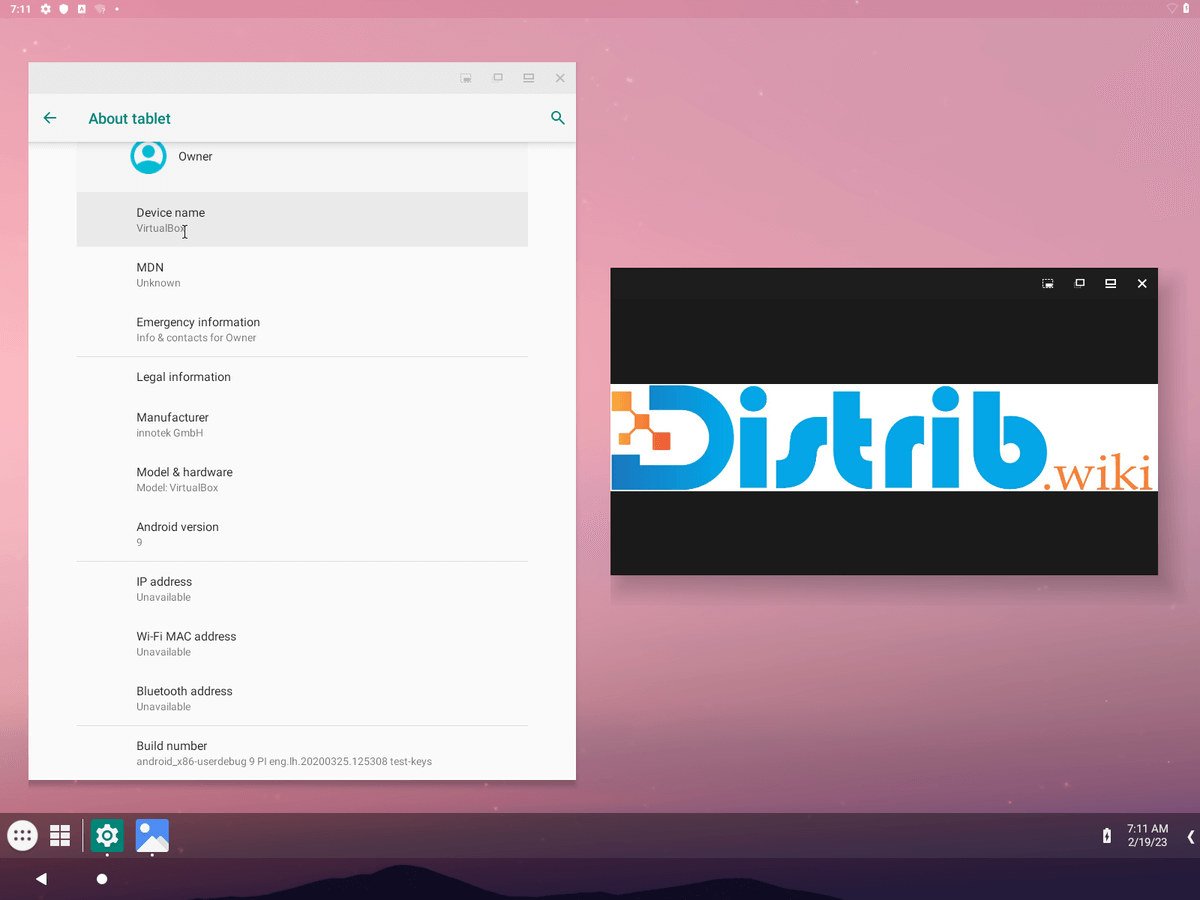
Android-x86 adapts Android to compatible x86 hardware, including laptops and desktop computers. It provides a way to explore Android beyond phones and tablets. This guide covers obtaining an image and installing it; check the release's age, hardware support and security maintenance before using it as an everyday system.
Step 1: download the Android-x86 ISO
Use the official Android-x86 website to find the project's download locations. Choose the image and architecture appropriate to your hardware, checking whether the required 32-bit or 64-bit build is available and suitable for your intended use.
Check the downloaded image
Compare the file with verification information supplied by the project. Some older release pages provide SHA-1 checksums: a matching checksum can help detect accidental corruption, but SHA-1 should not be presented as strong proof of authenticity against deliberate tampering. Prefer stronger verification information where the project supplies it, obtained through a trusted official channel.
Step 2: create a bootable USB drive
Write the verified image to a USB drive using a compatible tool such as Rufus on Windows or dd on Linux. Confirm the correct target device before proceeding, because image writing erases its contents.
Write the image
The exact interface depends on the tool. Select the ISO, choose the intended USB drive and start writing. Wait for completion and safely remove the drive before using it to boot another computer.
Step 3: install Android-x86
Back up existing data, insert the USB drive and restart. Select it in the computer's boot menu, or adjust the BIOS/UEFI boot order if necessary. Read the official installation guide for the release and firmware arrangement you are using.
Installation procedure
The installer presents choices about partitions, filesystems and boot configuration. The general sequence is:
- Select “Installation — Install Android-x86 to harddisk” or its equivalent for that image.
- Choose the intended destination partition, checking the disk identity and existing data.
- Select a supported filesystem such as ext4 when formatting is appropriate. Formatting erases the selected partition.
- Review the GRUB bootloader option in the context of your firmware and any existing operating system.
- Decide whether the system area needs to be writable; this is an option to assess, not a requirement for every installation.
- Allow installation to finish, then follow the reboot instructions.
After installation
Android-x86 offers a way to run Android on PC hardware, but application compatibility, graphics support and available security updates need individual checks. Test it on a spare machine or suitable virtual setup before relying on it, and retain a recovery route for the computer's original operating system.