
Download 4MLinux: images and installation preparation
English edition published on .
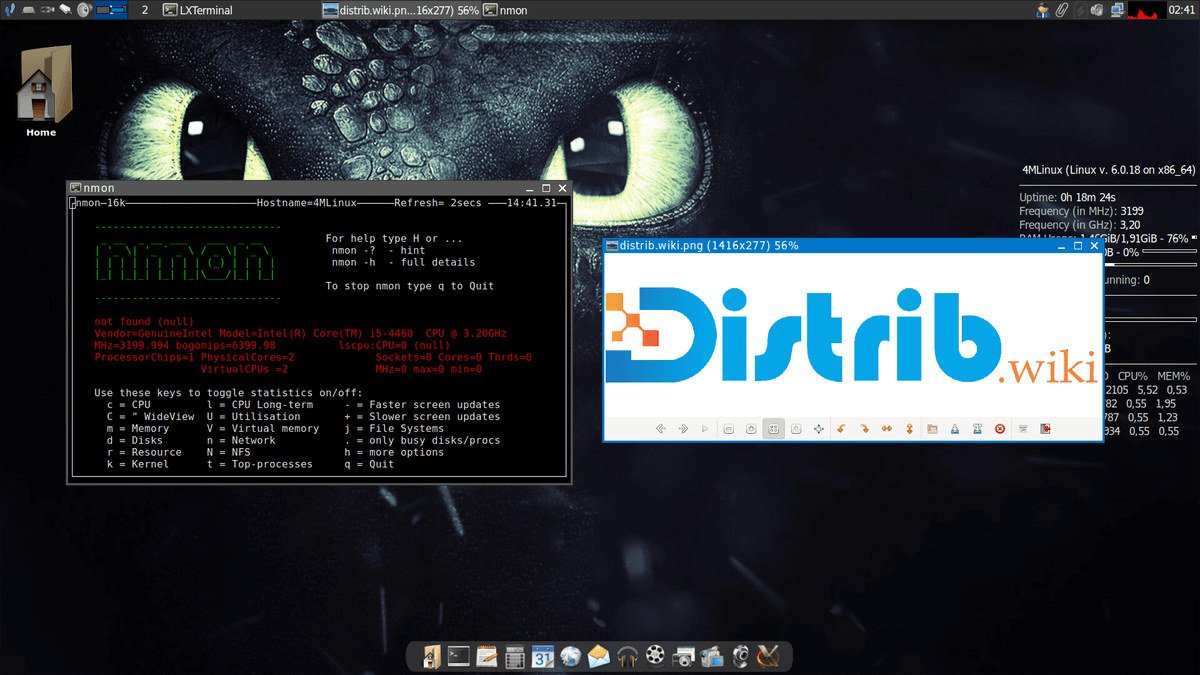
This guide outlines downloading and preparing 4MLinux, a distribution organised around maintenance, multimedia, a small server and games. Consult the documentation for the exact release before following installation or update instructions.
Download the ISO image
Start with the project’s official release resources and choose an image for your intended use and supported architecture. Do not assume an older image’s 32-bit or 64-bit options remain available. Record the complete filename and follow the verification instructions supplied for it.
Step 1: create bootable USB media
After downloading and verifying the image, use a suitable image-writing tool to prepare USB media:
- On Windows, use the image-writing method documented for the selected release; tools such as Rufus may be appropriate.
- On macOS, choose a tool that supports writing the actual image format, such as balenaEtcher where supported.
- On Linux, image-writing tools include graphical applications and
ddfor experienced users.
Back up the USB drive’s contents first. Identify its name and capacity before writing; selecting another disk can destroy its data. Merely copying the ISO into a folder does not perform image writing.
Installing 4MLinux
With media ready, preserve an independent backup of your documents before changing the computer’s disks.
Step 2: boot from USB
Insert the drive and restart. Select USB through the computer’s boot menu, following its manufacturer’s instructions. Firmware-entry keys such as F2, F10 or Delete are examples, not universal commands.
Step 3: start the installation procedure
Boot the chosen 4MLinux image and follow its documented installation method. Do not assume that an old generic guide’s menu labels match your image. The official 4MLinux documentation blog links to the project’s introductions and instructions.
Step 4: review installation choices
Before confirming installation, check the decisions relevant to your release:
- Language and keyboard settings.
- The disk or partition intended for 4MLinux.
- Any custom partition layout.
- Whether formatting is requested and what data it will erase.
- The required administrator and user credentials.
These are preparation checks, not a promise that every release presents the same graphical wizard. Stop if a proposed disk change differs from your intention.
Step 5: complete installation
Once the documented choices are confirmed, let system-file copying and bootloader setup complete. Timing depends on the computer and media. Do not interrupt a disk-writing operation.
Step 6: restart
Restart when instructed and remove installation media at the appropriate stage so the computer boots from its installed disk.
Initial 4MLinux configuration
Sign in as instructed for your installation and begin checking networking, display and essential applications. Keep the backup until your files and required tasks have been verified.
System updates
Use 4MLinux’s own update mechanism, not Debian or Ubuntu apt-get commands. The official 4MLinux server documentation documents the following command for updating the system:
zk updateCheck the instructions for your installed release before running updates. Back up important data first; the availability of an update mechanism does not imply indefinite support for every historical version.
Additional software
4MLinux includes software for its maintenance, multimedia, server and gaming roles. Its documentation describes additional applications through project-specific extensions and tools. Verify the supported method for the application and release instead of assuming a Debian-style package manager.
Explore the included tools in a test environment and adapt the system to your needs after checking compatibility and maintenance instructions.