
Download Fedora Scientific: verify and install the Lab
English edition published on .
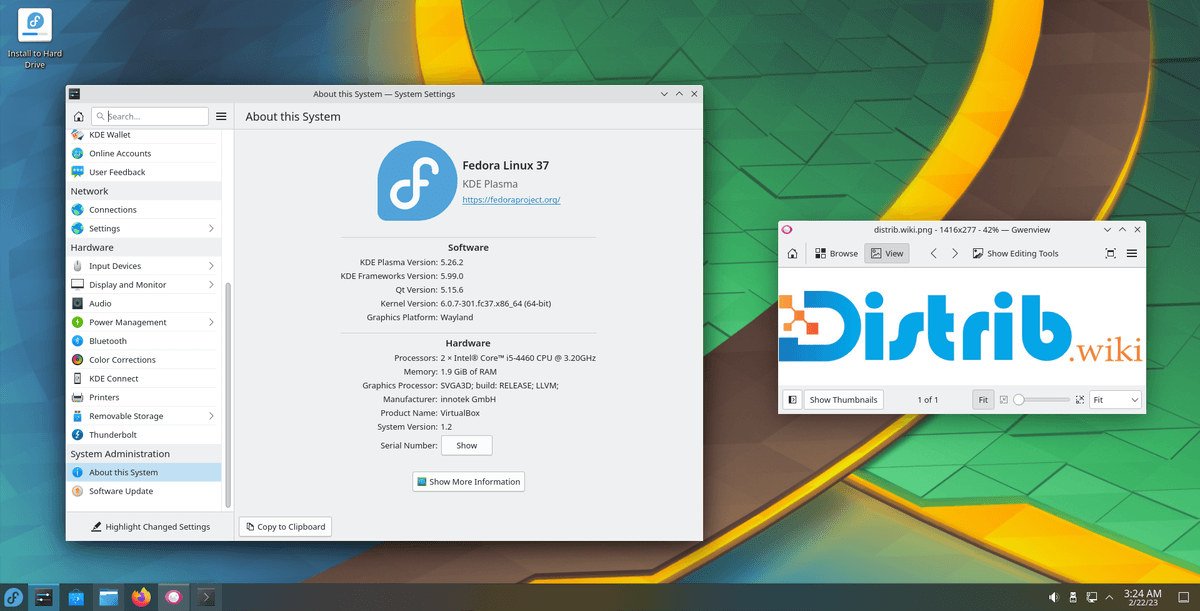
Fedora Scientific is a Fedora Lab bringing together software for scientific work and research. It is separate from the discontinued Scientific Linux distribution. This guide outlines downloading and installing its image.
Download Fedora Scientific
Use the official Fedora Scientific Lab page to obtain the offered installation image and its verification files. Check the actual release and architecture before downloading.
Choose a Fedora Scientific release
Fedora generally follows a roughly six-month release cycle, but a schedule is not proof that a particular image is already available. Choose a supported release actually offered by the project, and distinguish stable images from prereleases or archives. Read its release notes and maintenance information.
Download and verify the ISO
Allow sufficient storage for the image and download its matching checksum file. Follow Fedora's instructions to verify the checksum file's OpenPGP signature and compare the ISO's SHA-256 value. A matching filename alone does not verify a download.
Install Fedora Scientific
After verifying the image, prepare installation media and back up existing files before changing the computer's disk. Check that the hardware and resources meet the requirements of the selected image.
Create installation media
Write the image to a sufficiently large USB drive, or use a suitably sized DVD if supported by the image and computer. Use an image-writing utility compatible with Fedora's installation media.
- Connect the target USB drive or insert a blank disc.
- Select the Fedora Scientific image in the writing utility and confirm the correct destination. Writing USB media erases its contents.
- Wait until the writer has finished before removing the medium.
Run the installer
Once the medium is ready, boot it and check essential hardware in the live environment where provided before starting installation.
- Restart the computer with the installation medium connected.
- Open the boot menu and select the medium.
- Follow the installer, reviewing the target disk, partition changes and user settings before confirming installation.
After installation
Update the installed system and check the scientific software needed for your work. Record package versions and environments where reproducibility matters; the presence of a scientific software collection alone does not guarantee compatibility with every research workflow.