
Download MX Linux: official images and preparation
English edition published on .
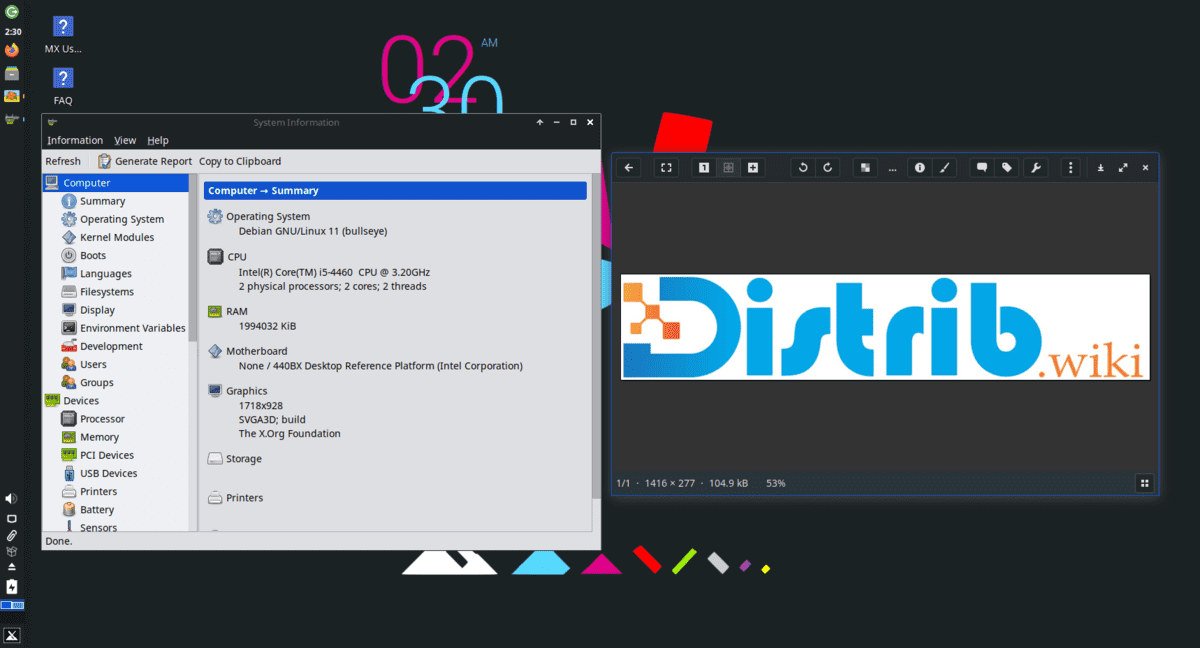
Choose an official MX Linux image
Start at the project’s download page, then choose a desktop and image matching your hardware. The main button above opens that official page; distrib.wiki does not host installation images.
Information checked on . No complete ISO download or installation test was performed for this page.
1. Identify the right image
The project’s final files on SourceForge included MX 25.3 for x86-64 PCs at the source-check date. Monthly images may be offered separately: read their descriptions instead of assuming that a “latest version” button selects your desired desktop. Final ISOs and pre-releases are not interchangeable.
| Image | Point to examine |
|---|---|
| Xfce | The Xfce desktop and hardware support in the standard image. |
| Xfce AHS | Newer hardware-related components; check your computer’s specific needs. |
| KDE Plasma | The Plasma desktop; the project describes its image as using the AHS variant. |
| Fluxbox | An interface organised around the Fluxbox window manager. |
For PC installation, obtain the .iso file. Checksum and signature files accompany the image; they do not replace it. A difference or synchronisation file is not a standalone ISO. A 32-bit-only processor cannot boot these x86-64 images; editions for other architectures must match the exact target machine.
2. Verify the file and signature
Checksums and signatures check different things. SHA256 comparison detects a difference between the received file and expected hash. A signature can verify the origin of a checksum file or ISO, provided the correct project key is used.
The Signed ISO files documentation gives edition-specific keys and instructions for Linux and Windows. Download files matching the exact ISO name; do not reuse another version’s signature. Verify the full key fingerprint against that documentation, not merely a name shown by software.
On MX Linux, ISO Signature Verifier can check signed images. The project provides .sha256.asc files containing signed checksums. For manual verification, follow the procedure matching the actual file type supplied.
If there is an error or mismatch, do not create installation media from that file. Check that ISO, checksum and signature correspond, then download again from a project-listed mirror if necessary. Using an official mirror does not replace these checks.
3. Prepare the USB drive
Use an image-writing tool: copying the ISO as a document to USB does not make boot media. Preparation may erase the selected drive. Copy useful files elsewhere and check the drive’s capacity, name and model before confirming.
The MX Live USB Maker documentation explains selecting the ISO and target device. Its full mode for antiX/MX family images provides live features, including persistence. Image mode copies the image onto the media. These modes do not all offer the same ability to retain settings.
If preparing USB on another system, consult the installation chapter of the MX manual for an appropriate method. Do not use a disk-writing command until you have identified the target device unambiguously.
4. Boot and test before installation
Open the computer’s boot menu and select USB media. Recent images offer a choice between systemd and SysVinit; the manual says this choice can become the installed system’s choice. Keep that in mind for applications depending on either environment.
A live session lets you explore before launching the installer. Check Wi-Fi, audio, display, suspend and required peripherals. Avoid writing to internal disks during the trial if you want them unchanged.
Before installation, review selected disks and partitions. To retain another system, prepare shared disk space and recovery methods. If already using MX, distinguish updates within the same branch from a major migration from MX 23, which needs specific preparation.
Find desktop differences, software management and backup tools in the MX Linux profile. The trial section of our choice guide helps prepare decision criteria.