
Download Feren OS: USB preparation and installation
English edition published on .
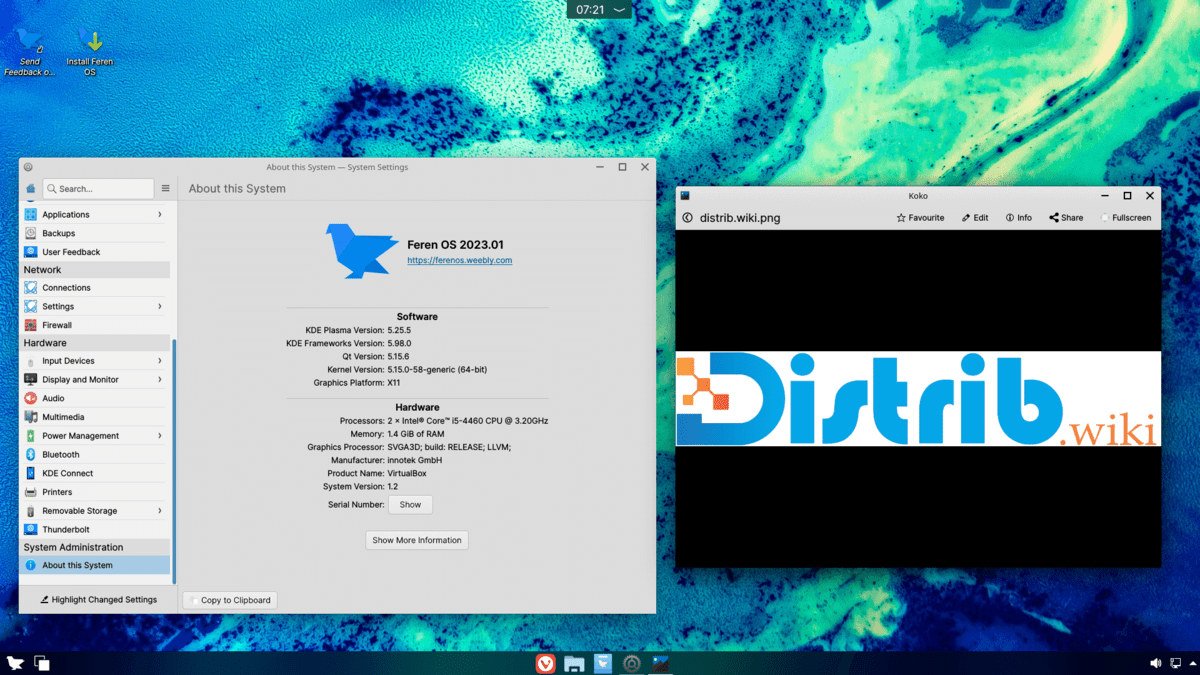
This guide outlines downloading and installing Feren OS, an Ubuntu-based Linux distribution focused on desktop usability and customisation. Older editions used Cinnamon; check the desktop and requirements of the release currently offered by the project.
Step 1: Downloading the Feren OS ISO
Visit the official download page and choose an image compatible with your processor architecture. Check which architectures the selected release actually supports rather than assuming that both 32-bit and 64-bit images are available. Save the ISO somewhere easy to find.
Step 2: Creating bootable installation media
On Linux
On Linux, an image-writing tool such as dd can write an ISO to a USB device. Follow the project’s instructions, back up the drive and carefully identify the destination. When writing directly to the whole device, unmount its mounted partitions first; do not write to a filesystem that is in use.
On Windows
On Windows, use a compatible application such as Rufus, with the settings recommended for the image. Select the downloaded ISO, verify the USB drive as the target and start writing. Existing contents on that drive will be erased.
Step 3: Installing Feren OS
Restart the computer and open its boot menu. Select the prepared USB drive, then follow the image’s instructions to launch the installer. Back up important files before altering the computer’s storage.
System settings
- Choose the installation language.
- Connect to Wi-Fi if the installation process requires it.
- Review the available installation and partitioning choices. Check the target disk and what will be erased before confirming.
- Set the region, time zone and keyboard layout.
- Create a user account and set its password.
Review the settings, then start installation. When it finishes, restart as instructed and remove the installation medium. Check for updates and configure the installed system for your needs.