
Download FydeOS: images and installation preparation
English edition published on .
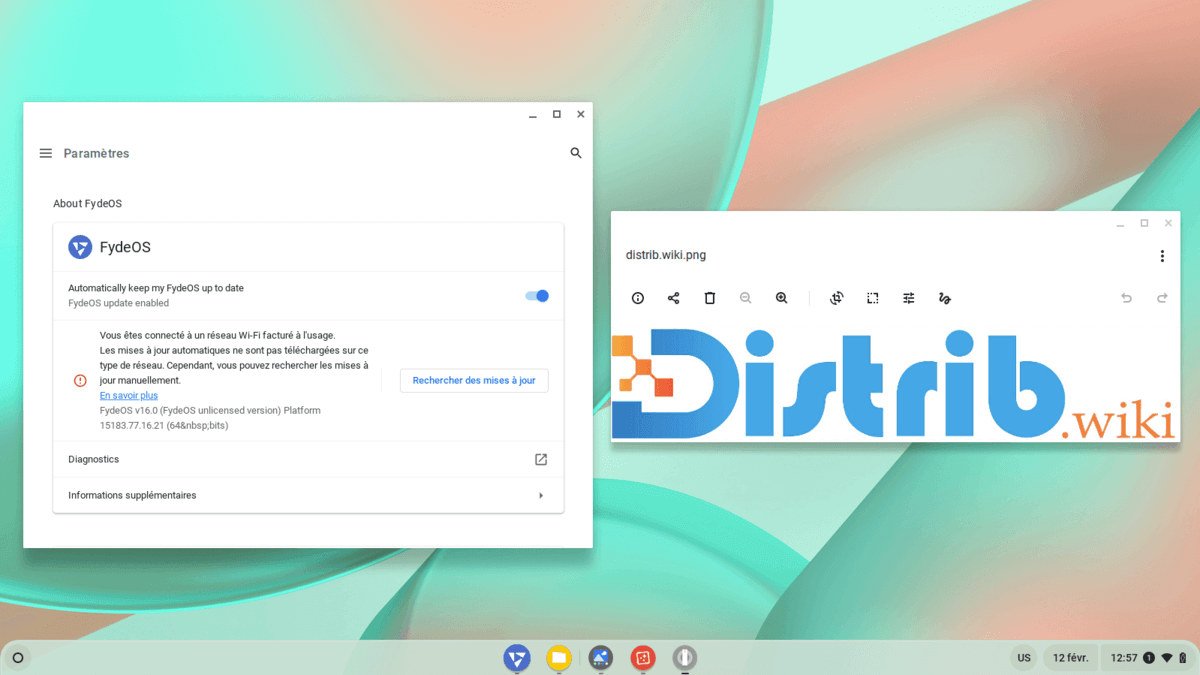
FydeOS offers a Chromium OS-related desktop with application features that depend on the edition and device. This guide outlines obtaining a suitable image and preparing an installation; Android application support is not a blanket guarantee for every machine.
Download FydeOS
Use the official download resources and choose the image for your exact hardware. FydeOS for PC, supported single-board computers and virtual-machine editions have different requirements. Check licensing, available services and any charges for the chosen edition instead of assuming every variant has identical terms.
The official PC installation guide explains image selection and media preparation. FydeOS uses disk images rather than ordinary installation ISOs; follow the instructions for the actual compressed file supplied.
Create bootable USB media
Write the downloaded image using a supported tool and follow the guide’s instructions about extraction:
- On Windows, the official guide describes Rufus and balenaEtcher.
- On Linux, use the documented graphical image-writing procedure; avoid a raw disk-writing command unless you have identified the correct device and format.
Use a drive with enough capacity and back up its contents. Image writing replaces its data; check the device name and capacity before confirming. Formatting a drive or copying the image as an ordinary file does not perform the same operation.
Install FydeOS
1. Boot from USB
Insert the prepared drive, restart and select it through the computer’s boot menu. Read the project’s boot requirements and hardware-specific guidance before changing firmware settings.
2. Start installation
Explore the booted environment and follow the installation method documented for your edition. Before changing the internal disk, keep an independent backup and confirm that the target layout matches your intention.
- Choose the language and keyboard layout.
- Identify the intended installation disk and verify its available capacity.
- Review erasure or partition changes, then follow the remaining installation instructions.
3. Finish setup
After installation, remove USB media when instructed and restart. Complete network and account setup using the options offered by that edition. Do not assume that signing into a Google account is the required system-login method.
Check before everyday use
Test networking, audio, graphics, peripherals and the applications you actually need. A successful installation does not establish universal compatibility. Keep recovery media and backups available until the system meets your requirements.