
Download GhostBSD: images and installation preparation
English edition published on .
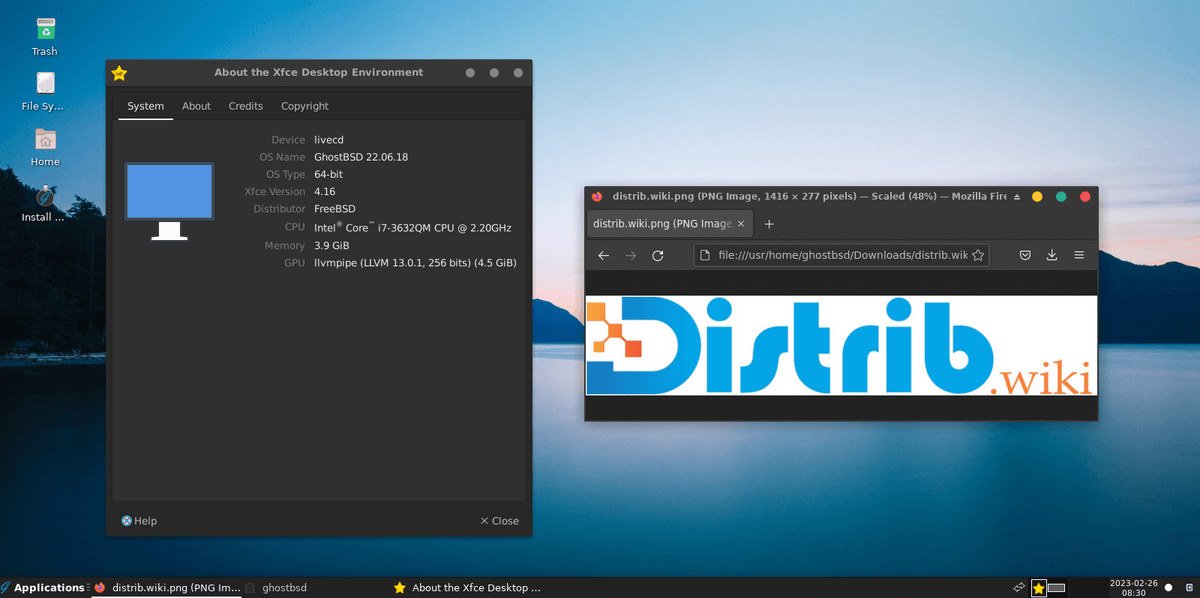
GhostBSD is a FreeBSD-based system offering a desktop environment built around MATE. This guide outlines downloading an image and preparing an installation.
Downloading GhostBSD
Use the official GhostBSD download page. The images checked on 3 November 2026 target 64-bit amd64 systems; the older suggestion to choose a current 32-bit image is not applicable. Select the appropriate project image, review its requirements and obtain the ISO with its matching checksum.
Create installation media
On Linux
After verifying the downloaded ISO, you can create bootable USB media with dd. The following is a placeholder example from the installation outline, not a command with a preselected safe destination. Replace /path/to/iso with the ISO path and /dev/sdX with the correctly identified USB device:
dd if=/path/to/iso of=/dev/sdX bs=4MWriting overwrites the destination device. Back up its contents and follow the current official page’s complete writing and synchronisation instructions before removing the media.
On Windows
A graphical image-writing program lets you select the ISO and USB device. The official download page documents Rufus; follow its current instructions and check the destination’s name and capacity before writing.
Install GhostBSD
With media ready and important files independently backed up, boot the computer from it.
- Restart and select the installation media through the computer’s boot menu.
- Choose the GhostBSD boot option.
- Open the installer from the booted environment and select the language when prompted.
- Follow the instructions for disk configuration, time zone, keyboard, user account and other settings.
- Review the target disk and partition changes before starting installation. Completion time depends on the machine.
- After completion, restart and remove the installation media so that the computer boots from its installed disk.
After rebooting, check the login screen, network and essential applications. A successful installation alone does not validate all peripherals or workloads.