
Download Kali Linux: images and installation options
English edition published on .
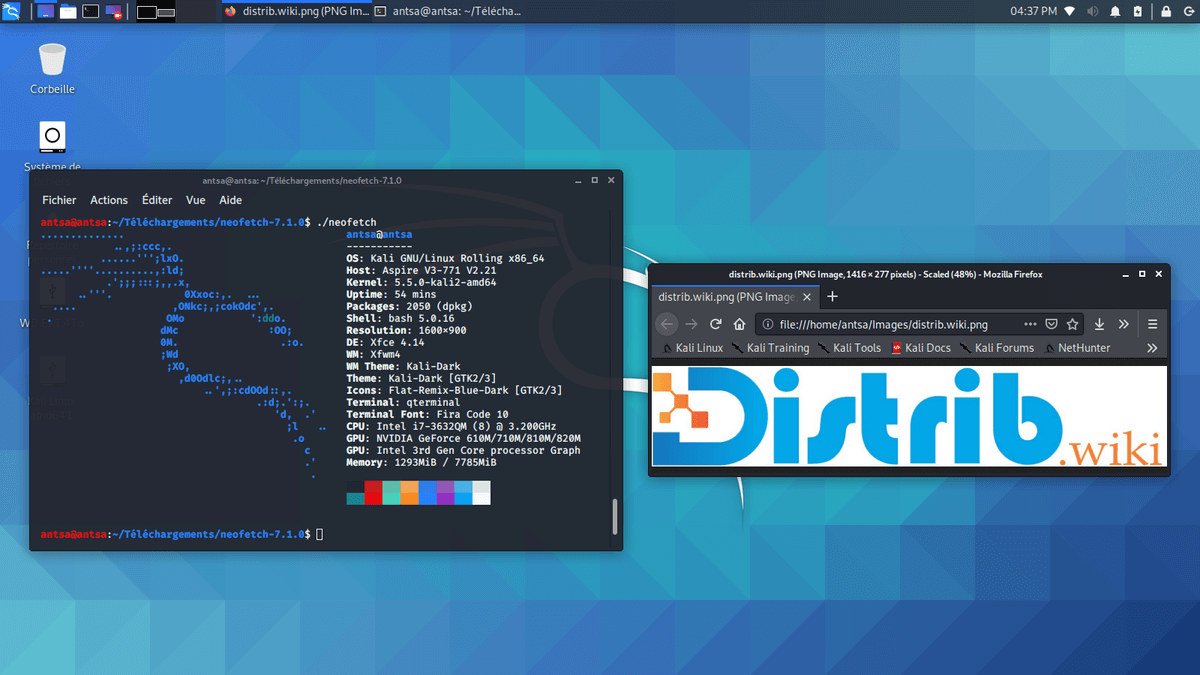
How to download Kali Linux for free
Kali Linux is a Debian-based, open-source system for cybersecurity, penetration testing, forensics, security research and reverse engineering. It serves professionals, students and trainers working in authorised security environments.
Obtain images from the official project website, which lists direct downloads and torrents. Formats include installation and live ISOs, virtual-machine images, ARM builds, WSL, cloud, containers and Kali NetHunter. Use the project’s verification instructions rather than treating the download source alone as proof of integrity.
Choose a format before downloading. Kali is a specialised testing platform rather than a conventional general-purpose desktop. A virtual machine or live USB is often a suitable first trial without replacing the main system.
Which Kali Linux image should you choose?
The Installer image provides a conventional installation on a computer or virtual machine. Files, settings and installed tools persist between boots, making it useful for a dedicated laboratory or training machine.
The Live image boots from USB without requiring installation onto the internal disk. It supports temporary or portable sessions. Optional persistence, configured according to the documentation, can retain files and settings between boots.
Ready-made virtual-machine images for environments such as VMware, VirtualBox and QEMU reduce installation work. They provide a convenient laboratory starting point on an existing computer.
Other formats target supported ARM hardware, WSL on Windows, cloud environments and containers. Kali NetHunter is the Android-based mobile testing platform for compatible devices.
A virtual machine is a practical starting point for learning; a live USB suits portable use; a full installation can serve a dedicated workstation. Each requires appropriate configuration and permissions.
Prepare your computer before downloading
Define your goal: learning in a virtual laboratory, carrying a USB environment or using a dedicated machine regularly. Choose the format accordingly.
Back up important files before installing on disk because partition changes can erase data. A backup is sensible even when beginning with a live USB or virtual machine.
Allow enough RAM, disk space and CPU capacity for a virtual machine. On physical hardware, check drivers, including the wireless adapter if your authorised tests require particular Wi-Fi capabilities.
Create a bootable Kali Linux USB drive
After downloading and verifying an appropriate ISO, use a compatible writer such as Rufus on Windows or balenaEtcher on Windows, macOS or Linux. Experienced users may use dd following official instructions. Writing media erases its target, so identify the USB device carefully.
Restart and open the computer’s boot menu. The key depends on the manufacturer and may be F12, F9, F8, Escape or Delete. Select the USB device.
A live session can be started without installing on the hard drive. Check display, keyboard, mouse, networking and required peripherals. Consult Kali’s persistence documentation if you need files or settings to survive restarts, including encrypted persistence options.
Install Kali Linux after downloading
The Installer image guides choices such as language, keyboard, destination disk, partitions, accounts and software. It is suitable for a dedicated computer or virtual machine.
With a prepared virtual-machine image, import it into compatible virtualisation software and follow the project’s setup instructions. This reduces changes to the main system, but isolation still depends on networking and sharing settings.
Update the system after installation or first boot. Kali’s rolling updates provide fixes, tool releases and system changes. Keep a working security environment maintained and review update messages.
Why download Kali Linux?
The distribution assembles tools for learning penetration testing, authorised audits, network analysis, vulnerability research and system defence in a single environment.
It is also used in training, laboratories, certifications and exercises. Virtual images make it easier to reproduce a learning environment with controlled settings.
Computer, USB, virtual-machine, WSL, ARM, cloud and container formats support different testing and training scenarios.
Use the tools only where you have permission. Start with your own machines, dedicated laboratories or training platforms designed for cybersecurity practice, and understand the effects of the tools you run.
Conclusion
Choose a virtual image for an initial laboratory, a live image for portable sessions or an Installer image for a dedicated machine. Match the format to your goal and hardware.
Use official download links and verification instructions to reduce the risk of an altered or unsuitable image. Then prepare USB media, import a virtual machine or install as appropriate. Authorisation and responsible use remain essential.